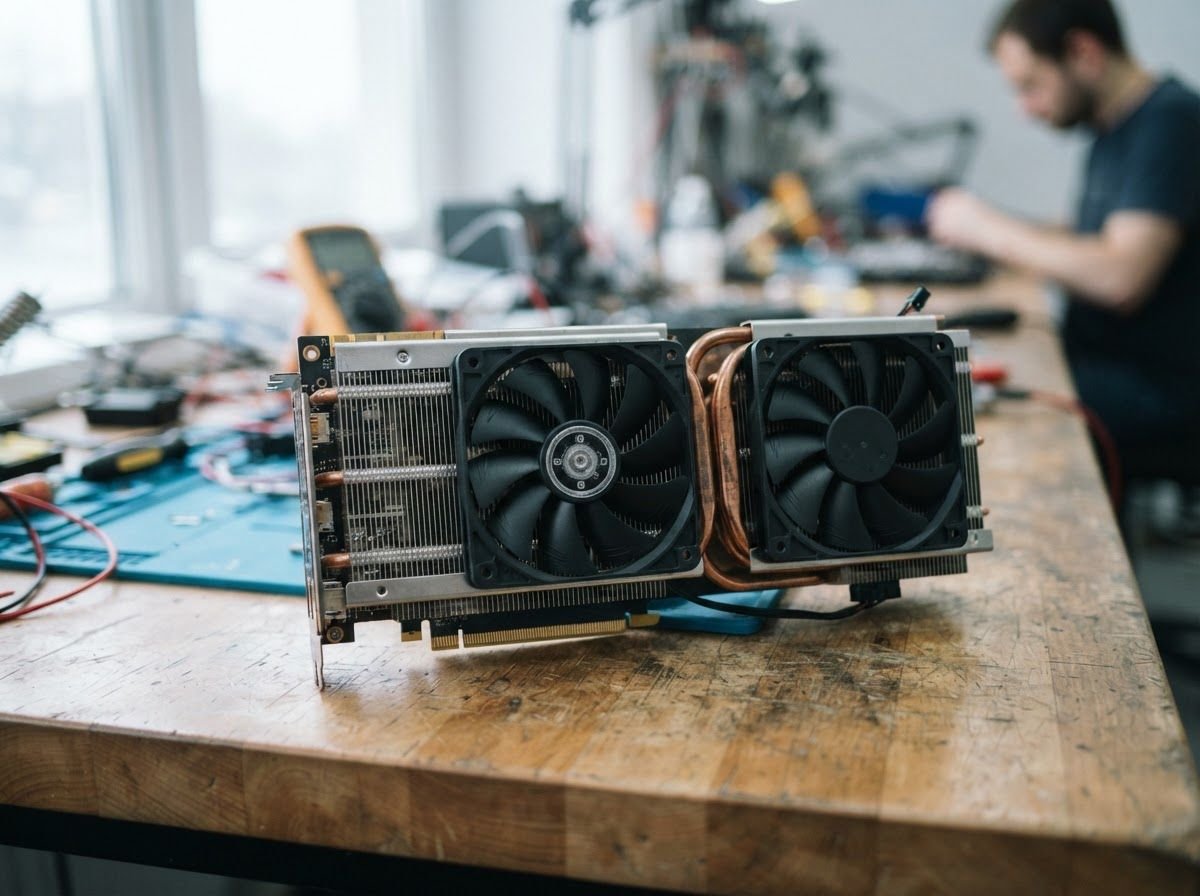
Most returned builds fail on something that was knowable at quote stage. The graphics card is usually the part that pushes the power supply and the case to their limits, so check it first.
1. Power supply headroom
Start with the card maker’s recommended PSU wattage, not the card’s own power figure. The recommendation already allows for a typical CPU and the rest of the system.
- Add up the CPU and GPU power figures, then allow for drives, fans and USB devices.
- Leave headroom so the PSU isn’t running near its limit under load. Modern cards can draw short spikes well above their average.
- Prefer a reputable unit with a recognised efficiency rating over a higher number on the label.
2. The right power connectors
Check what the card needs and what the PSU provides, by connector type and count.
- Many cards use 8-pin PCIe connectors. Count them, and avoid splitting one PSU cable across two sockets on high-draw cards.
- Newer cards use the 12VHPWR or 12V-2x6 connector. A PSU with a native cable is the cleanest option; an adapter must come from the card or PSU maker.
- Make sure the connector seats fully, with the cable not bent hard at the plug.
3. Case clearance
- Card length: compare it with the case’s maximum GPU length, allowing for front fans or radiators.
- Thickness: a 3-slot or 3.5-slot card can block the slot below it and needs room for airflow.
- Height: tall cards and the power cable need side-panel clearance.
Quick checklist
- PSU wattage meets the card maker’s recommendation, with headroom.
- Connectors match, natively or with a maker-supplied adapter.
- Card length, thickness and height fit the case, with fans fitted.
- Motherboard has a free full-length PCIe slot with room around it.
When you send a build list, we run these checks line by line and flag anything that won’t fit before you order.
Got a list to check? Send it to us and we’ll quote every line within one working day.